
- You are here:
- Home »
- Chainsaws »
- How To Sharpen A Chainsaw
How To Sharpen A Chainsaw
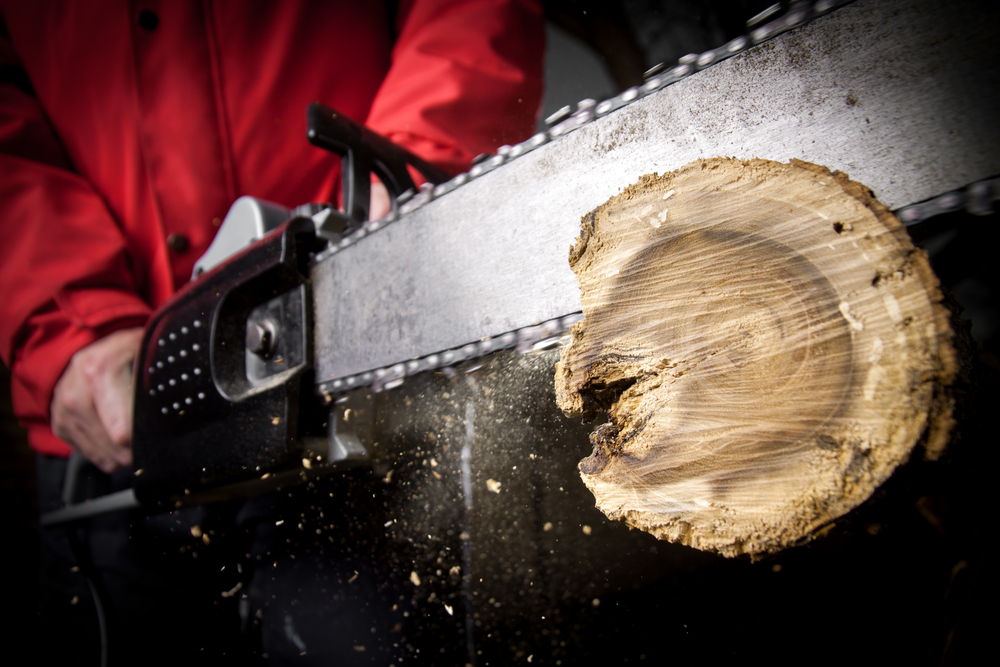
If you use a chainsaw regularly, then you will understand the need to make sure it stays sharp and ready to cut through even the hardest of trees and general wood.
Because of this, you might want to think about how you can sharpen your chainsaw.
Content On This Page

If you want it to work efficiently and effectively, then maintaining your chainsaw is a must. If it turns blunt, then it will not perform as it should.
Whilst you can hire a professional to do this job for you, you can actually do it yourself.
Doing so will also help you to save money, though you will need to put some effort into it.
So, if you have just started to notice that your chainsaw is struggling to cut through what it normally does quickly, then it might be time to sharpen it.
If you are already thinking about how daunting the process might be, fear not, because we’ve got you covered in this handy step-by-step guide below.
So, let’s get to it.
How To Notice When It Is Time To Sharpen A Chainsaw Chain
You will find that when the chainsaw is sharp, not only is it efficient, it is actually a lot safer to use.
It also helps to reduce any of the wear that might happen over time because it cuts sharper.
There are signs to look for that will indicate when it is time to sharpen the chain. Here are just a few of them:
- If you find that you are having to put extra effort into cutting something like wood, then it is a sure way to know that the chainsaw needs to be sharpened. You will notice this happening when you have to add in extra physical power to cut something.
- If you have noticed that the chainsaw has begun to spit bits of dust out, rather than the usual jagged and sharper pieces of wood chips, then it is a good telltale sign it needs to be sharpened.
- Lastly, if you have noticed that the blade is starting to pull to one side, then it is time to sharpen that chainsaw. Once you do so, you will even out the teeth so that they can all cut really sharply into wood.
Before You Start
In this guide we shall look at the manual process of sharpening a chainsaw.
Whilst this does involve a lot more manpower, time and effort, it is a great way of learning how to do it.
If you use a chainsaw for your job, and cut a lot of wood, then this method is likely going to become far too time consuming for you.
When this is the case, you will want to purchase an electric chainsaw sharpener instead.
The method we show here is perfect for the at-home DIYers, rather than tradesmen.
However, you can purchase DIY friendly chainsaw sharpener kits, like this one from Oregon Universal. It has everything you need to get going.
Tools For The Job
Here are a few items you will need to do the job:
- Gloves
- Safety Glasses
- Vise
- Towel
- Chainsaw file that is the correct size
- Screwdriver
- Mineral Spirits
Step-By-Step: How To Sharpen A Chainsaw
Here is a step-by-step guide on how to sharpen a chainsaw.
Step 1: Safety First And Cleaning Up
Before you begin, put on the safety glasses and gloves to protect yourself. It is also better to wear old clothes – this job can get messy.
Firstly, you will want to clean the chainsaw to remove any residue of debris and oil.
You can use a towel, as well as a screwdriver to remove the dirt. If you find it difficult to remove alone, then using mineral spirits can help.
Whilst you do this, also have a look at the chain for any damage. If it is, then see about repairing it.
If it is too far gone, then you might have to replace it altogether.
Step 2: Change The Tension
To prevent problems from occurring, you will need to set the tension that is specific to avoid anything happening whilst you are working.
If the chain is too loose then there could be kickback or the chain may move off the guide bar.
If it is too tight, then it likely will not move, and could even cause heat between different parts.
This can cause a fire, which is obviously very dangerous and will also ruin the chainsaw.
Adjust the tension screw which you might find on the side or front of the chainsaw.
You can do this by turning it clockwise or counterclockwise to loosen or increase the tension.
If the chain doesn’t move when you pull on it, then it is too tight. If it doesn’t go back into position when pulled, then it is too loose.
See also: How To Tighten Chainsaw Chain?
Step 3: Stabilizing
You will need to stabilize the chainsaw to keep it steady. You can do this with a vise.
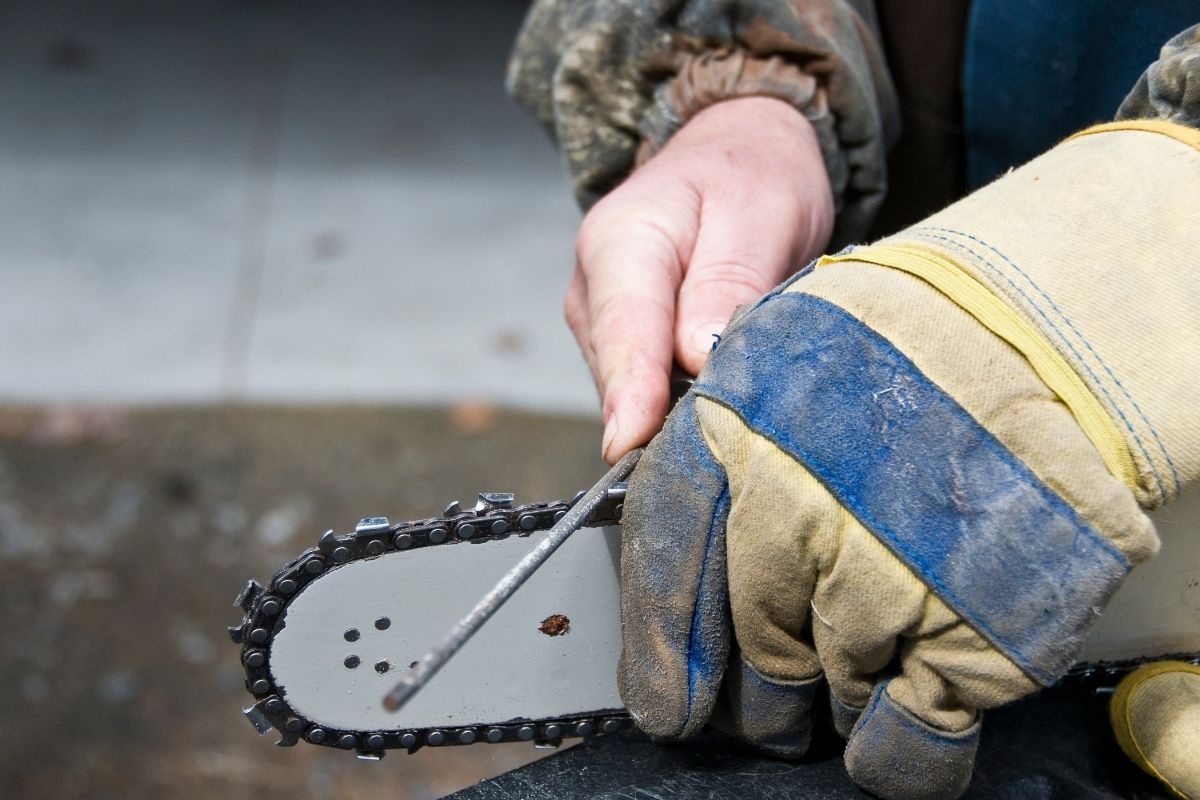
Step 4: Start Sharpening
Locate the flat top cutter blades and begin to sharpen them. Always mark with a sharpie which one you started with.
Do the filing at an angle when it comes to the teeth which you will find at the top of the cutter, sometimes twisting it to try and cause friction.
Make sure you work on every other cutter along the chain.
Step 6: The Other Side
Now proceed to file the other side of the chain to finish it off.
Step 7: Gauge Inspection
Check the depth of the gauge between the cutters. They should be shorter than the cutter adjacent to them. If it is taller, file it down.
Final Thoughts
If you use a chainsaw and find that you are shaving to put effort into cutting, then it might be time to sharpen the blades.
Doing so is easy enough, even as a DIYer. So long as you follow the step-by-step guide above, you will be a seasoned pro in no time.
If you enjoyed this, take a look at the rest of our website.
About the Author David Vieria
David has been a woodworker for most of his life — in his dad’s cabinet shop. After using the tools himself, he decided to share it his woodworking and power tools knowledge with DIYers. Read more about him