- You are here:
- Home »
- Chainsaws »
- How To Put A Chain On A Chainsaw?
How To Put A Chain On A Chainsaw?
If you own a chainsaw then you are most likely going to have to deal with putting the chain back on at one point or another.
Content On This Page
- Safety Tips For Chainsaw Chain
- Step-By-Step Guide On How To Put A Chain On A Chainsaw
- Step 1 – Take The Old Chainsaw Chain Off
- Step 2 – Release The Tension Of The Chain
- Step 3 – Remove The Chain
- Step 4 – Loosen The Tensioning Screw
- Step 5 – Place The New Chain On The Chainsaw
- Step 6 – Align The Chain On The Guide Bar
- Step 7 – Put The Side Plate Back On
- Step 8 – Tighten The Chain Until It Is At The Right Tension
- Step 9 – Tighten The Side Plate Nuts
- Final Thoughts
It is a super easy task and will not even take five minutes but it is essential that you do it properly so that you avoid having any accidents down the line.

On top of that, there are several things you can do in the way of repair details that will make a huge difference when you are installing a chainsaw chain correctly or not.
So, without further ado, let us take a look at how you can put a chain on a chain saw in these easy steps.
Safety Tips For Chainsaw Chain
There are a few things that you will need to be aware of when you are using your chainsaw.
Below are a few tips to consider when you are using a chainsaw.
- Check the Chain for Damage or Dullness – If your chainsaw chain is dull or damaged it will not cut through anything fast or effectively. On top of that, it can be very dangerous to use if you are operating the chainsaw in this state.
- Make Sure the Right Chain Cut Direction is Set – If your chain cut direction is wrong it can cause damage to the chain but also it can cause the chainsaw to not cut through material well and the chain will likely spin which will cause the chain to dull faster.
- Keep the Chain Lubricated – Lubrication can really help your chain to stay cool and will help reduce the friction that the chain experiences when it is being used.
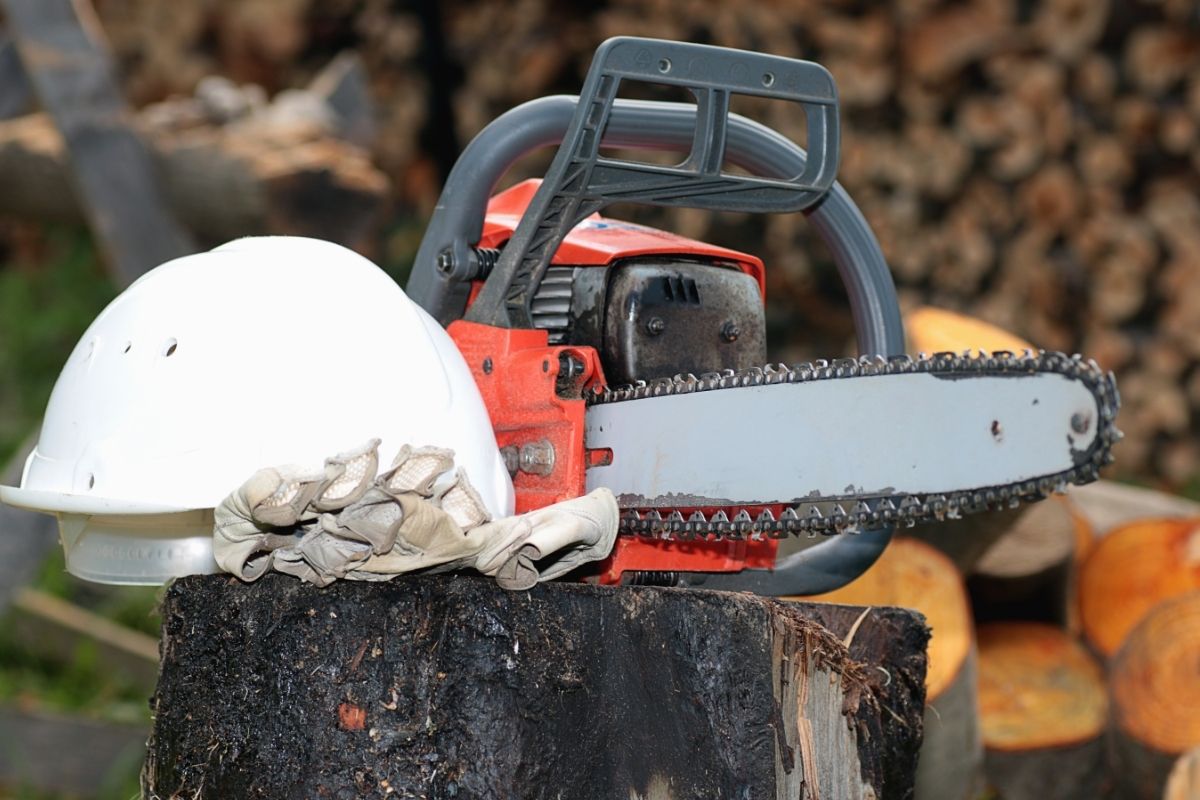
- Wear Safety Gear – When you are using a chainsaw you should always wear the proper protective gear. It is recommended that you wear work gloves, steel-toed boots, leans, chainsaw safety chaps, and safety goggles.
Step-By-Step Guide On How To Put A Chain On A Chainsaw
Below is a simple step-by-step guide on how you can easily put a chain on a chain saw. So, without further waffling, let us dive right in!
Step 1 – Take The Old Chainsaw Chain Off
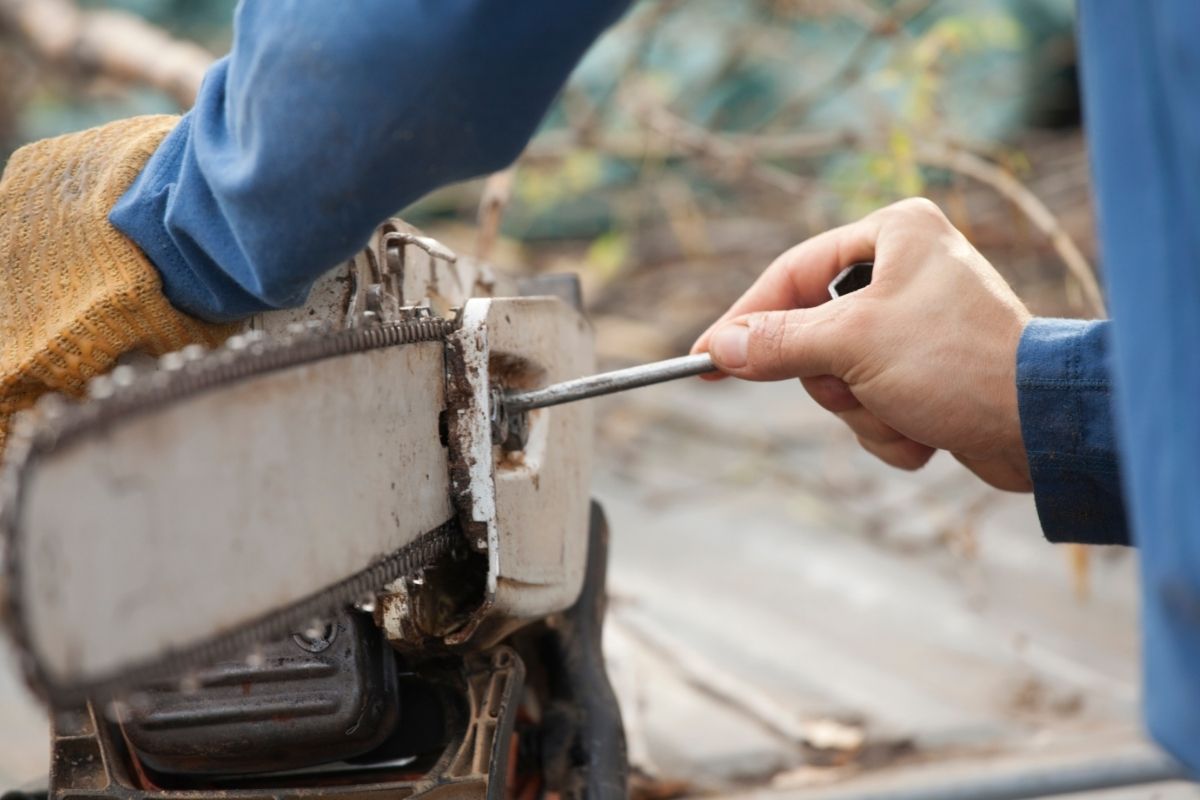
To take the old chain off you will need to start by removing the side plate which will be held in place by a couple of nuts.
You can use a wrench or a screw wrench to get the nuts off and once that is done you will be able to take the plate off.
At this point, you should be able to access the chain.
You may notice that your chainsaw brake is attached to the guide bar or side place and if this is the case you will need to unlock the brake before you take the sprocket and plate are removed.
Step 2 – Release The Tension Of The Chain
Once the sprocket plate has been taken off you will be able to release the tension of the chain, you can do this by pulling the nose of the chainsaw bar away from the chainsaw itself.
This should release the chain from the tensioner.
Step 3 – Remove The Chain

At this point it will be super easy to just take the chain off the guide bar, this is because it should be all slack and should just be pulled off with ease.
Step 4 – Loosen The Tensioning Screw
The next step is to find the tensioning screw. It is usually located on the inside of the guide bar.
Once you have found it all you need to do is loosen it just a bit. This will help make putting the new chain in much easier.
Step 5 – Place The New Chain On The Chainsaw
Now you need to carefully thread the sharpened or new chainsaw chain around the clutch drum.
While you are doing this you will need to make sure that every link engages with the sprocket.
Step 6 – Align The Chain On The Guide Bar
Now, once the chain is threaded along with the clutch drum of the chainsaw you will need to align the chain with the guide bar.
You can do this by putting some tension into it and pulling on the nose of the guide bar, make sure to pull away from the chainsaw while you are doing this.
Step 7 – Put The Side Plate Back On
Next, you will need to put the side plate back on.
But before you do this you will need to make sure that the guide bar is positioned correctly beneath it.
Step 8 – Tighten The Chain Until It Is At The Right Tension
This part can be a bit tricky, if you are unsure how to get the right tension for your chainsaw make sure to check out our other article where we talk about that in more detail.
Your next job is to use the tensioning screw that is located on the side of the guide bar and adjust the tension of the chain until it is at the right point.
Step 9 – Tighten The Side Plate Nuts
Now all that is left is to put the nuts back on the plate and make sure that everything is secure and tight before you head off and use your chainsaw again.
Final Thoughts
We hope that you enjoyed learning how to tighten a chain on a chainsaw.
It really is a very simple task and one you should be able to do quite quickly with no issue.
Just make sure to follow each step properly or get the help of someone more experienced so that you get shown how to do it right.
If you get this wrong it can be dangerous and accidents may be more likely to happen.
That being said, it is important that you are not nervous about doing this task, it is simply a task that needs to be done with care to avoid potential accidents occurring as a result of poor chain installation.
Hopefully, you have learned enough through this article, we hope that you have a fantastic day and good luck with putting your chain on your chainsaw!
See also: How To Tighten Chainsaw Chain?
About the Author David Vieria
David has been a woodworker for most of his life — in his dad’s cabinet shop. After using the tools himself, he decided to share it his woodworking and power tools knowledge with DIYers. Read more about him
